0

Multi-Etch Answers Customer Questions

Jan 27, 2021

Copyright © Mark Fergus, used with permission

We have two subjects to cover: using Multi-Etch on different titanium alloys and reusing etch baths.


Question:


Will this product work on a titanium alloy? Not sure of the exact composition. When etching polished pieces, should the items be as close to polished already or will Multi-Etch affect the polished finish? What kind of depth will the etching do? Will I see difference in color on different titanium grades?


Answer


Multi-Etch will remove the oxide layer from all grades of titanium including alloys such as 6Al4V (generally known as 6/4 or grade 5) although we have not tested all of the alloys.


Do all your polishing/finishing, bead blasting, wire brushing, etc. prior to dipping in heated Multi-Etch. Adjust etch times for polished material as it will make the titanium matte if left in too long. Seven to ten seconds should be sufficient if you're etching to anodize. We've found that over three minutes will dull the polished finish. But if you left it in longer than three minutes, it will produce a satin finish, i.e., something between matte & polished. This all applies to heated Multi-Etch.


Check out our etch depth table . The longer you leave the titanium in Multi-Etch, the deeper the etch. Generally, for 6/4 titanium you can expect .0005" depth per 5 minutes in heated Multi-Etch.


There are a couple of alloys including 11 and 17 that have palladium in them. We haven't tested those but believe the etching will be slower because of the palladium.


You won't see any difference in the colors from grade to grade.


Question:


If I used my Multi-Etch one day, can I reuse it the next? Do you just place a lid on the solution? How long can it be exposed to air. Does the exposure to air affect its efficacy?


Answer


You can reuse the solution until it is no longer working for you. Put a lid on it to prevent evaporation but even if uncovered, it will not affect the efficacy. We have found the unused solution gets stronger after a couple of weeks or so. We have tested the unused solution up to a year after mixing it, and it still works fine. As always, it's best to pour out the smallest amount you need for a given job, keeping the rest of your solution uncontaminated. But then you can keep using what you poured out until it no longer works.


Have additional questions about Multi-Etch? Visit our Frequently Asked Questions or email us at info@multietch.com

21 Jun, 2022
We have a number of important changes to announce, effective immediately.
18 Feb, 2022
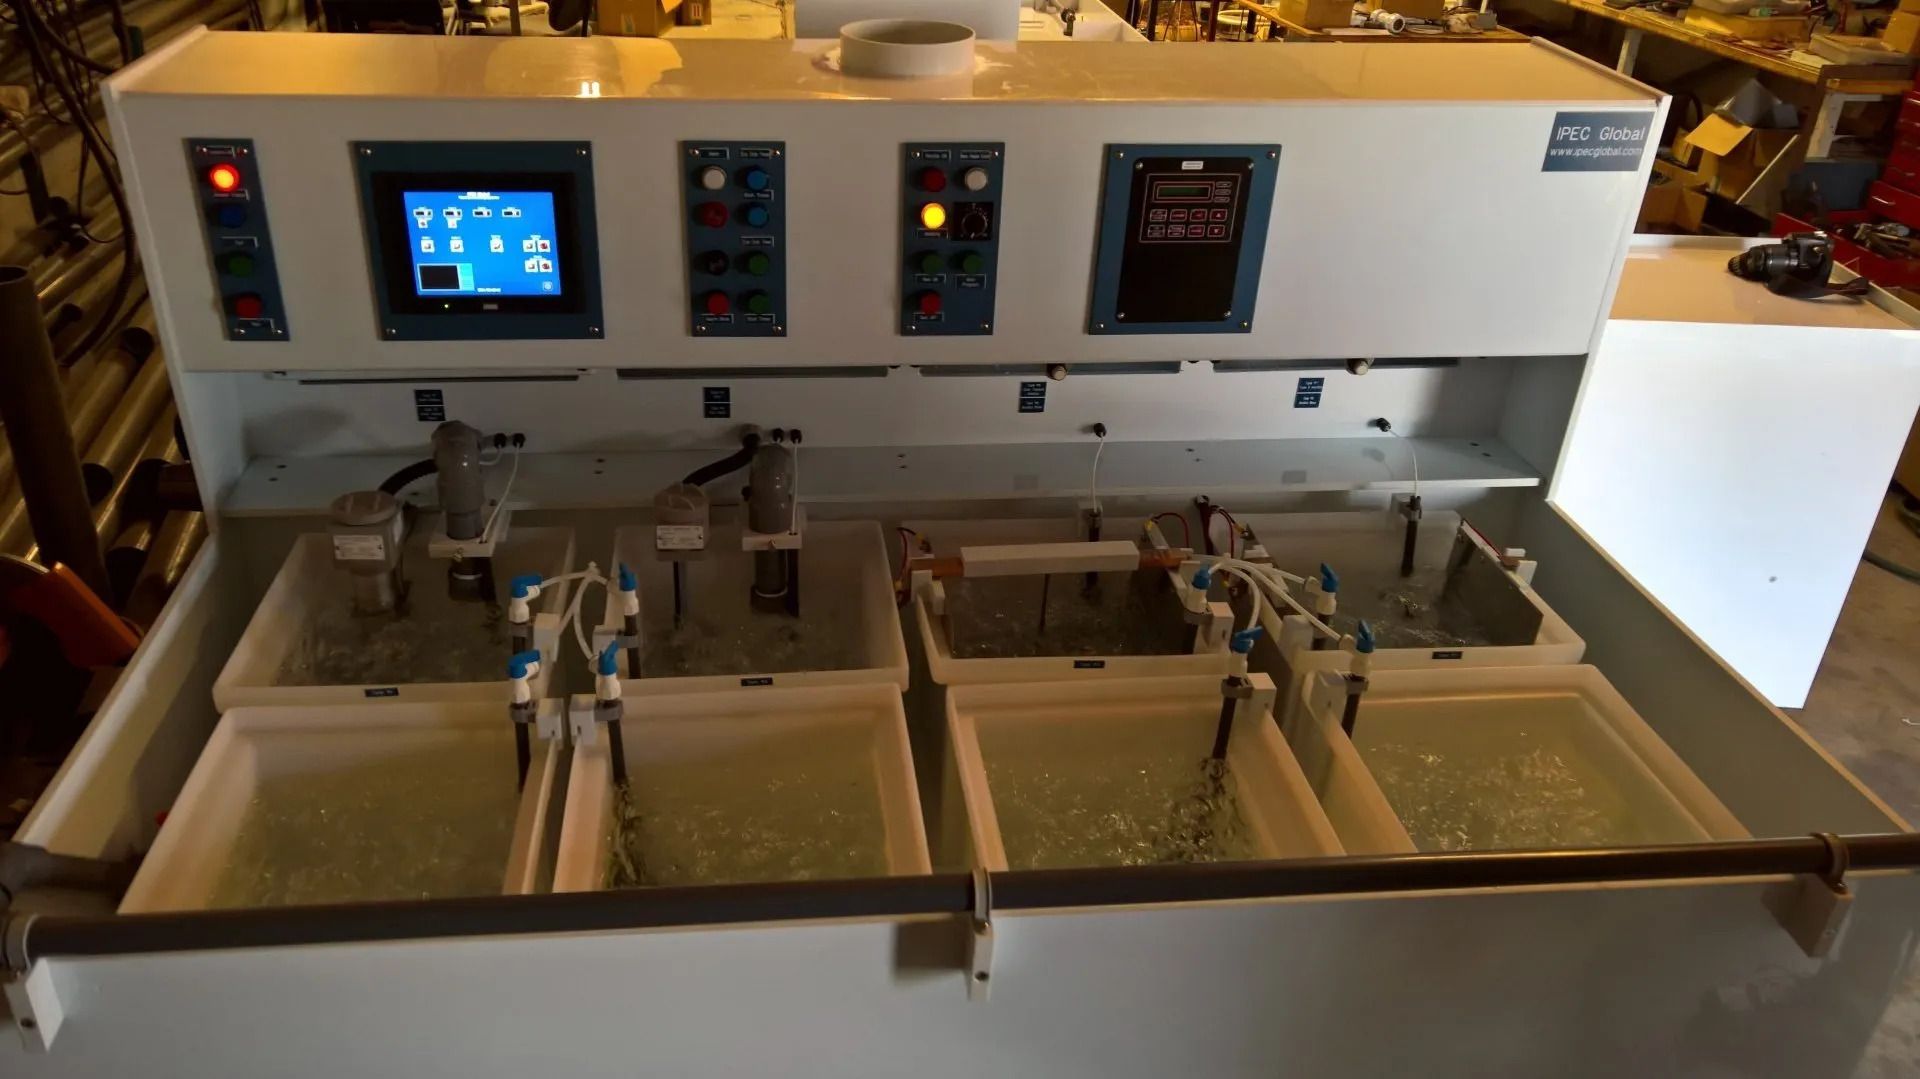
Titanium anodizing baths. Image courtesy IPEC Global.
08 Nov, 2021
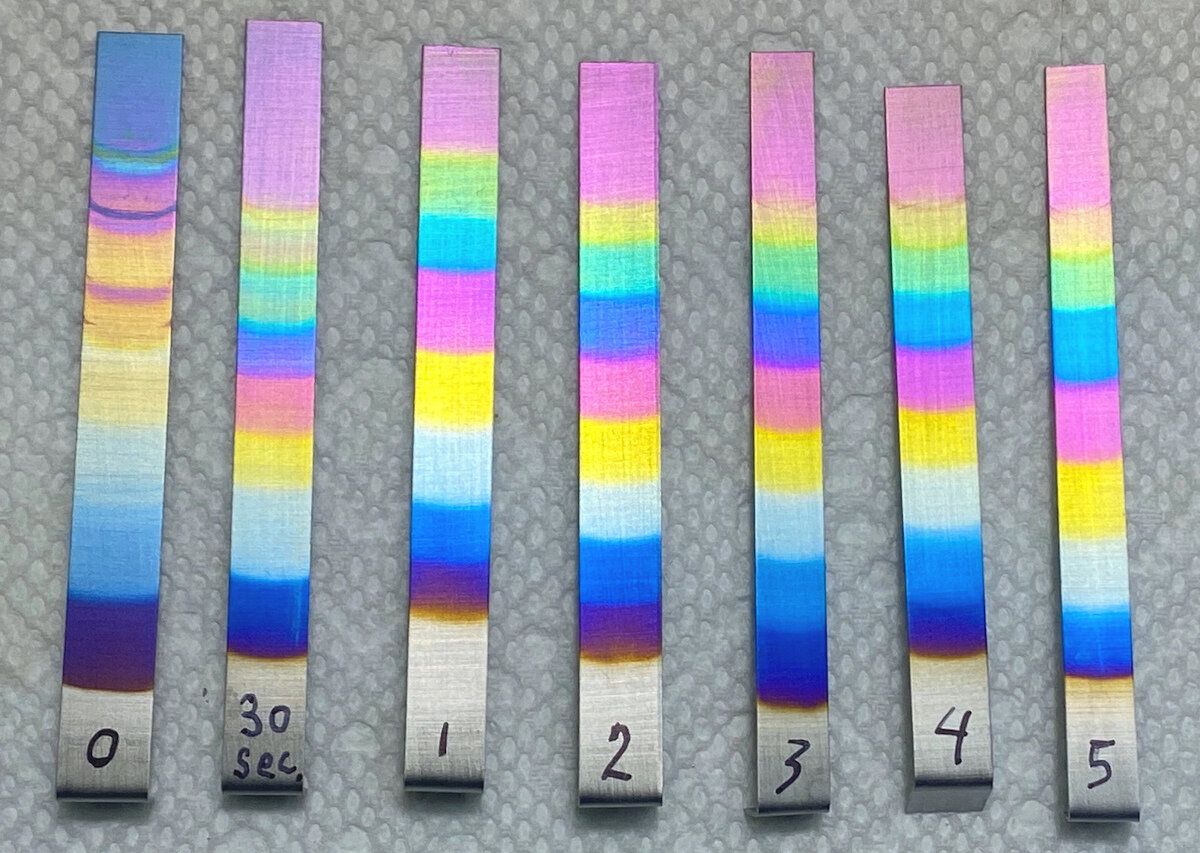
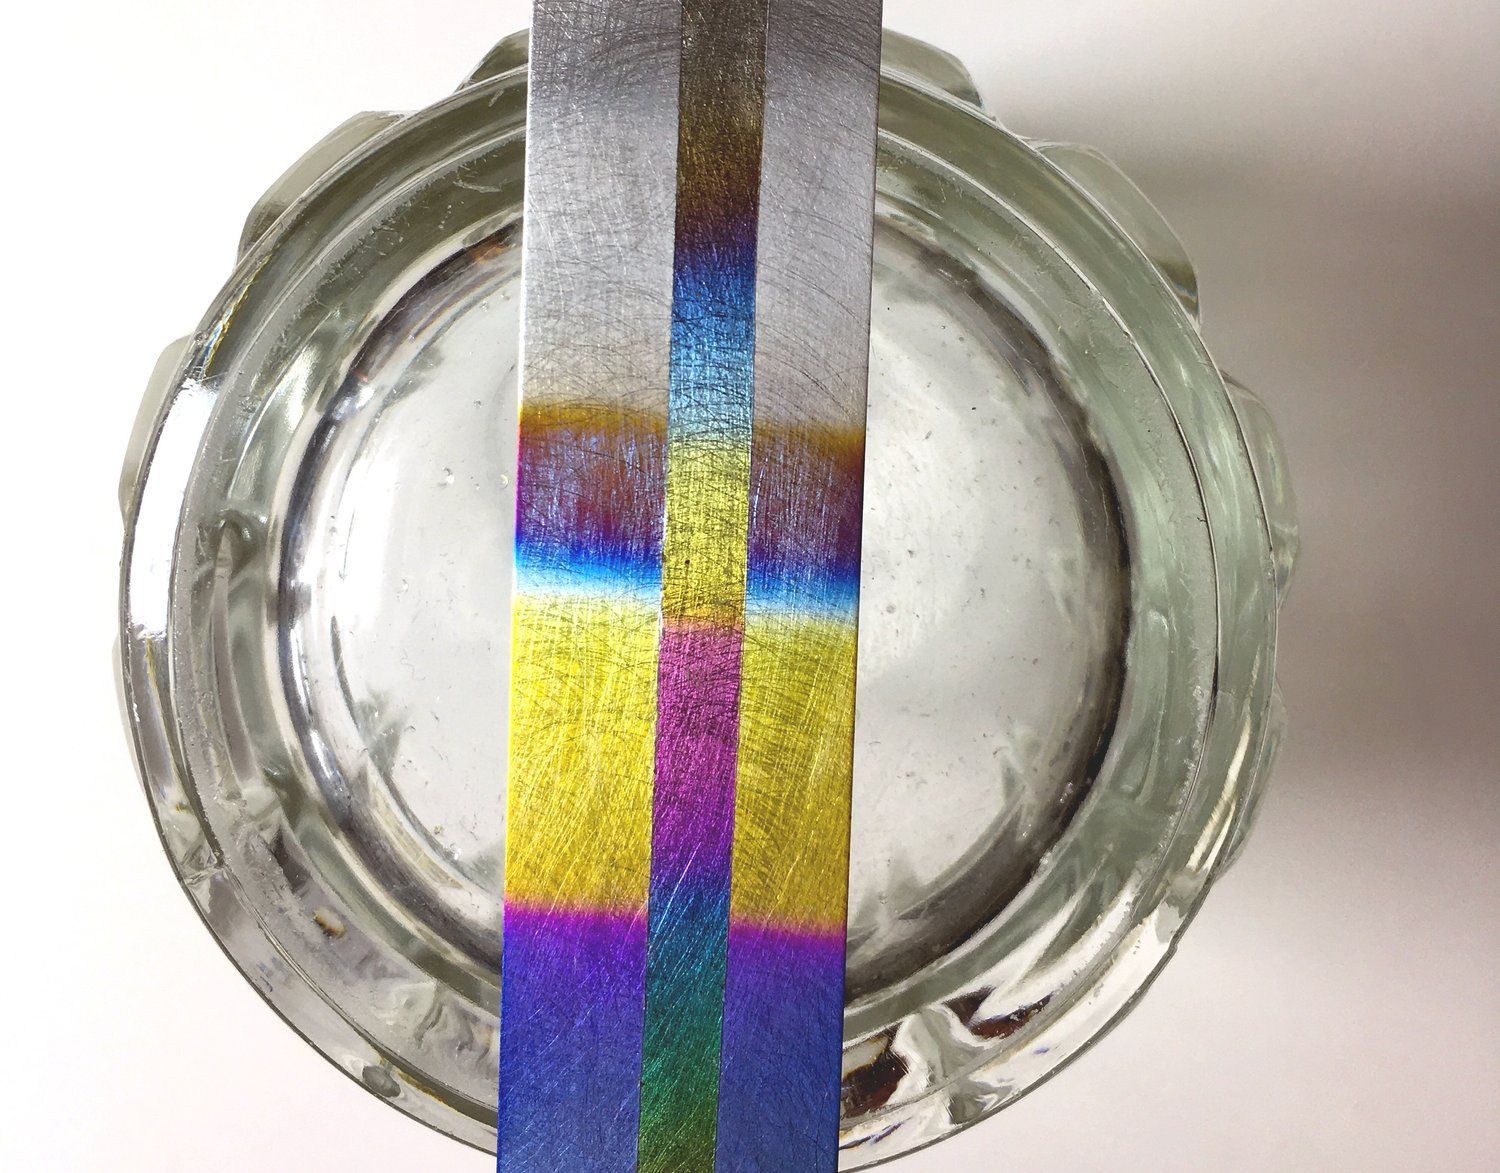
Here is an interesting method for an extractive coloring technique using Multi-Etch. Perhaps you’ve gone beyond that color you wanted when anodizing titanium or niobium, i.e., the voltage you applied was too high and the coloration needs correcting. You wanted a nice yellow but hit the pink fuchsia range above it. Rather than completely erasing the color, it is possible to Multi-Etch the anodized item and work backwards to the color you wanted. It takes some practice and skill working with this technique but it can produce the colors you're after. A quick demonstration:
31 May, 2021
Like many of you, we have a long history working with titanium, in our case for making jewelry and wall art. In 1990, we were honored with a commission to make a plaque of titanium commemorating the discovery of titanium in Cornwall, UK. We were given some materials by the Titanium Development Association (now the International Titanium Association ) to help design the plaque, including a copy of a painting of the discoverer Rev. William Gregor. We included a glass vial of ilmenite (from which titanium can be refined), titanium sponge, an ingot of titanium, and some mill products.
27 Jan, 2021
Copyright © Mark Fergus, used with permission
28 Sep, 2020
Sometimes it’s handy to prepare a titanium piece with Multi-Etch and then protect the piece in a way that allows you to set it aside and anodize later. One simple way is to Multi-Etch the piece, rinse, and then store in a tank of DI or distilled water. We’ve found this lasts at least 2-3 days, and probably longer. A second way is to Multi-Etch and then “base coat” your titanium part with 8-10 volts. Those parts can then be stored dry and the base coating will protect the piece for a long time. We’ve stored pieces that way for years and been able to anodize them in the same brilliant colors we can produce when we are working with freshly Multi-Etched pieces. The only drawback with base-coating is that there will be a light tan on the piece, so if you need part of the piece to remain the natural color of titanium, base coating won’t work for you. A third way that works on flat pieces is to Multi-Etch the piece and then cover and apply anodizers’ tape on the flat piece, burnishing thoroughly to make sure you cover the whole piece completely. You should cut the tape big enough to fold over the edges. The concept with these three methods is to prevent the formation of the oxide layer that Multi-Etch is designed to remove. Happy anodizing!
30 Jun, 2020
Since Multi-Etch is not as aggressive as hydrofluoric acid, it excels in removing amounts of titanium as thin as fractions of a micron. This allows for precise removal of material that is difficult to achieve with the blunt action of hydrofluoric acid.
By Esteban Rovic Dela Rama 20 Apr, 2020
Do you find yourself with extra time on your hands? This could be the perfect opportunity to investigate Multi-Etch. We have a lot of information on our website. If you've been thinking about anodizing titanium or bringing the process in-house, give us a call 928-634-5307 or email info@multietch.com. We are here to help!
By Web Act 10 Mar, 2020
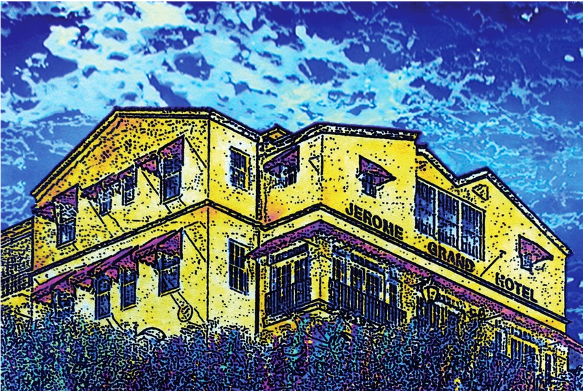
Chris and Sandy Boothe began their exploration into titanium when they first used it to make jewelry in the mid-1970's. After joining the Jerome (AZ) Artists Cooperative Gallery in 1999, they added titanium wall art. They wanted to make images of the buildings in Jerome, many of which were built in the late 1800's. Along the way they added outdoor images of the Sedona landscape. Their first attempts weren't always what they wanted--they needed more definition around the important parts of the images. So, they investigated a masking material called Press-n-Peel Blue Transfer Film . They start by taking photos and then manipulate those photos in Photoshop until they have images that are black and white; gray doesn't work that well with this technique.
More Posts
Share by: